


I’ve been making this pie crust for decades. It’s a formula and concept I learned in France, and augmented by studying vintage American cookbooks. I have made and taught this formula and method in countless in-person classes, as well as with my own children during our annual “pie day” on the day before Thanksgiving.
1) My food processor method is excellent for churning out large amounts of pastry in a short amount of time.
2) My by-hand method is the most historic method and superior to the food-processor method in flakiness and deliciousness.
Each is wonderful and very versatile. I’ll also show you how to properly roll out a pie crust, transfer it to the pie dish and even “blind bake” it.
If you see a product I’m using and would like to learn more about it, scroll down for links.
“Blind Baking” is an essential skill to learn if you’d like to make pies like chocolate cream, vanilla cream and many other pies. It’s a way to bake the pie shell while it’s empty.
The “pie weights” are little ceramic balls that hold the pastry down so it won’t bubble up. You can also use dried, raw, uncooked beans for this purpose. I do not recommend using the beans for food after you have used them for blind baking a pie. Additionally, store your beans in the refrigerator between uses – discarding them after the second or third use.
About That Lard
You can use all butter in this recipe if you wish, or you could use vegetable shortening. I personally, very much avoid consuming partially-hydrogenated oils – the oils in vegetable shortening (Crisco).
Lard is the most historic shortening. In fact, in all cookbooks before the 1950’s, “shortening” meant “lard”.
I think that pig lard is healthier to use than partially-hydrogenated oil laden crisco. Pig lard adds a crisp and crackly feature to the pastry, and it makes it flakier. But make your own choice. Rest assured, lard is still used in sophisticated kitchens all over the world so don’t feel you are disgracing yourself or your family by buying it. I’ve had many very funny conversations with my cooking students about “lard shame”. lol.
The way I see it – a little of something is better for you than a lot of angst (over something little).
Please print the guide below for your own convenience.
Thank you so much for visiting my website,
Shannon Vavich

Shannon’s Pastry Pie Crust in 2 Ways
Equipment
- food processor
- ramekin
- pastry scraper
- measuring cups
- measuring spoons
- plastic wrap
- utility knife
- cutting board
Ingredients
- 1/2 cup lard cubed and frozen
- 1/2 cup unsalted butter cubed and frozen
- 3 cups all-purpose flour
- 2 tbsp sugar
- 1 tsp salt
- 6 tbsp ice cold water
Instructions
- At least an hour in advance, cube the 1/2 cup unsalted butter and 1/2 cup lard, and freeze it together in a ramekin or small bowl.

- Sometimes I do this step in bulk if I know a big pie event (like Thanksgiving) is coming up. I freeze each batch in a separate ramekin so I can just grab a batch and go. Batches of lard and butter cubes can be kept in the freezer for a week uncovered. If you plan to freeze them for longer, cover with plastic wrap.

- In the bowl of your food processor, combine 3 cups flour, 2 tablespoons sugar and 1 teaspoon salt. Whir to mix.

- Add the ice cold butter and lard in batches, whirring between each addition. You will know it's time to move to the next step when the mixture clumps together in your hand like wet sand. See video for more instructions.

- Add the ice cold water one tablespoon at a time while the food processor is whirring. You will know it's time to turn your mixture on to your work surface when it clumps together in your hand like clay. See video for more instructions.

- Your mixture will look like a mess, but please don't be scared and for heaven's sake don't add more water or anything. Start to work to push the pastry crumbs together.

- This is when you trust the process and keep moving and squeezing the mixture together. See video for more instruction.

- When the mixture has formed into a lump, do your best to form it into an oblong log shape.

- Slice it in half with your pastry scraper.

- Working each section in a circular motion, form into discs. See video.

- Wrap each disc in plastic wrap. You can simply set on the counter for a couple hours before rolling it out for pies, but I recommend putting it in the fridge overnight, then bringing it to room temperature (4-5 hours) before you roll it out. You can keep it in the freezer for up to 8 weeks. Again, let it come to room temperature before you begin to work with it.

Mixing By Hand
- To make pie crust by hand, use 1/2 of this recipe at a time, as you will need a smaller quantity of ingredients to mix by hand properly.
- Measure out 1 1/2 cups flour, 1/2 teaspoon salt and 1 tablespoon sugar on your work surface.
- Create a little well in the center of the dry ingredients and add 1/4 cup butter (cubed and frozen) and 1/4 cup lard (cubed and frozen).
- Using your thumb and forefinger on each hand, press and shift the chunks of lard and butter so sheets of butter and lard are formed.

- If you are having trouble working with your cubes, take two cutlery knives and holding one in each hand and crossing them like an "x", slice them each away from each other. See video. Or you can use a pastry cutter.

- Once your chunks of fat are smaller, continue to work with your hands until your fat chunks are flat and about pea-sized
- Gather the flour/fat mixture into another mound and form a well in the mound.
- Gently add 3 Tablespoons of ice cold water right into the middle of the well, making sure to keep the moisture in the well of the flour and fat. Pinch the water into the flour with your thumb and forefinger and soon you will have a thick paste. At this point, you will be safe to start working the pastry with your whole hand and not worry that you will lose moisture to your work surface. See the video for more instruction.
- Gently and patiently work the pastry with your hands, pressing it together and turning it as you go. See video.
- Form into a "hockey puck" shape and wrap with plastic wrap. The handmade pastry will not be as good for sculpting and decorative flourishes, but it will be superior to the food processor pastry in flakiness and bubbly texture.
Rolling out the Pastry
- When rolling out a pie pastry, it's important to lightly dust your surface with flour, and to roll the pastry out gently; avoiding any divots. Meaning, keep the pastry the same thickness as you roll it out.

- Your goal here is to form a circular shape and to keep a circular shape throughout this whole process.
- Periodically, inspect the edges of your circle and push any fissures or cracks together.

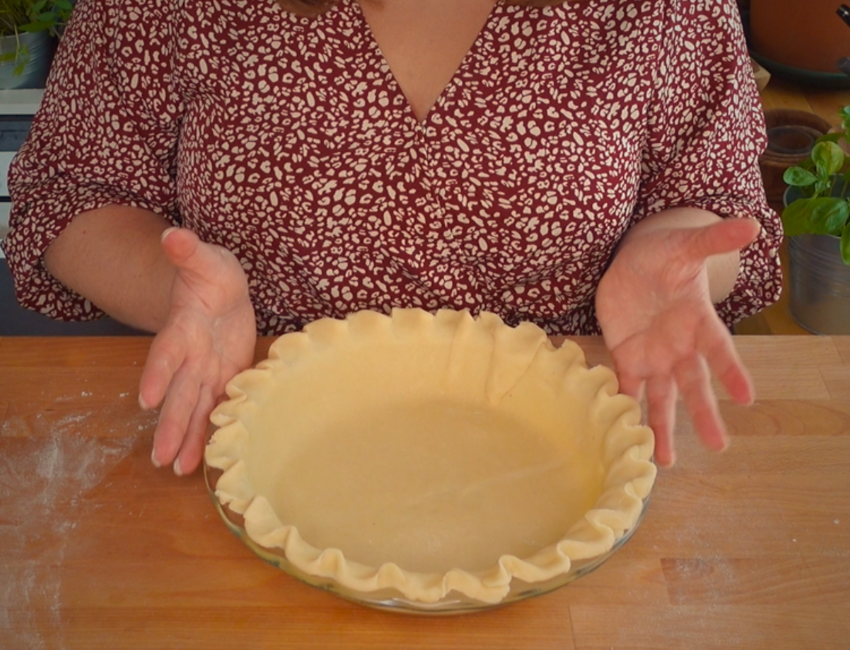
Putting the Pastry in the Pie Pan
- To transfer the pastry from the work surface either fold the pastry into fourths, pick up the fold pastry and unfold in the pan, or roll up the pastry around the rolling pin, place the rolling pin on the pie pan and unroll on the pan. Settle the pastry and pinch the edges decoratively. See video.

Blind Baking the Pie Shell
- Blind baking is essential if you are going to fill your pie shell with a stovetop cooked custard like chocolate custard – and you don't intend to cook the filling and the crust at the same time.
- After your pie pastry is settled in the pan and you've done some decorative pinching around the sizes, nestle some parchment paper in the pie, making sure the parchment paper hangs over the edges of the pie (to protect the rim from over baking).
- Pour ceramic pie weights into the pie shell, over the parchment paper. You can use dry, raw, uncooked beans in the place of ceramic pie weights if you wish.
- Bake at 350°F for 15-20 minutes.